WordPress is a free, open-source content management system (CMS) used to build and manage websites, blogs, and online stores. It was first released in 2003 and has since become one of the most popular website-building platforms, powering more than 40% of all websites on the internet.
WordPress is built with PHP programming language and uses a MySQL database to store and organize content. It features a user-friendly interface and allows users to easily create and publish content, including pages, posts, and media files.
WordPress also offers a vast library of themes and plugins, allowing users to customize the appearance and functionality of their websites. It’s highly flexible and can be used to build a variety of websites, from simple blogs to complex e-commerce stores.
Because of its popularity, WordPress has a large and active community of developers and users who contribute to its ongoing development and support.
To be honest there are multiple ways to install WordPress in this tutorial we will guide you each and every way.
How to install WordPress in HostingSeekers hosting
How to install WordPress on cPanel Using WordPress Toolkit
How to install WordPress manually
How can I set up WordPress on HostingSeekers hosting?
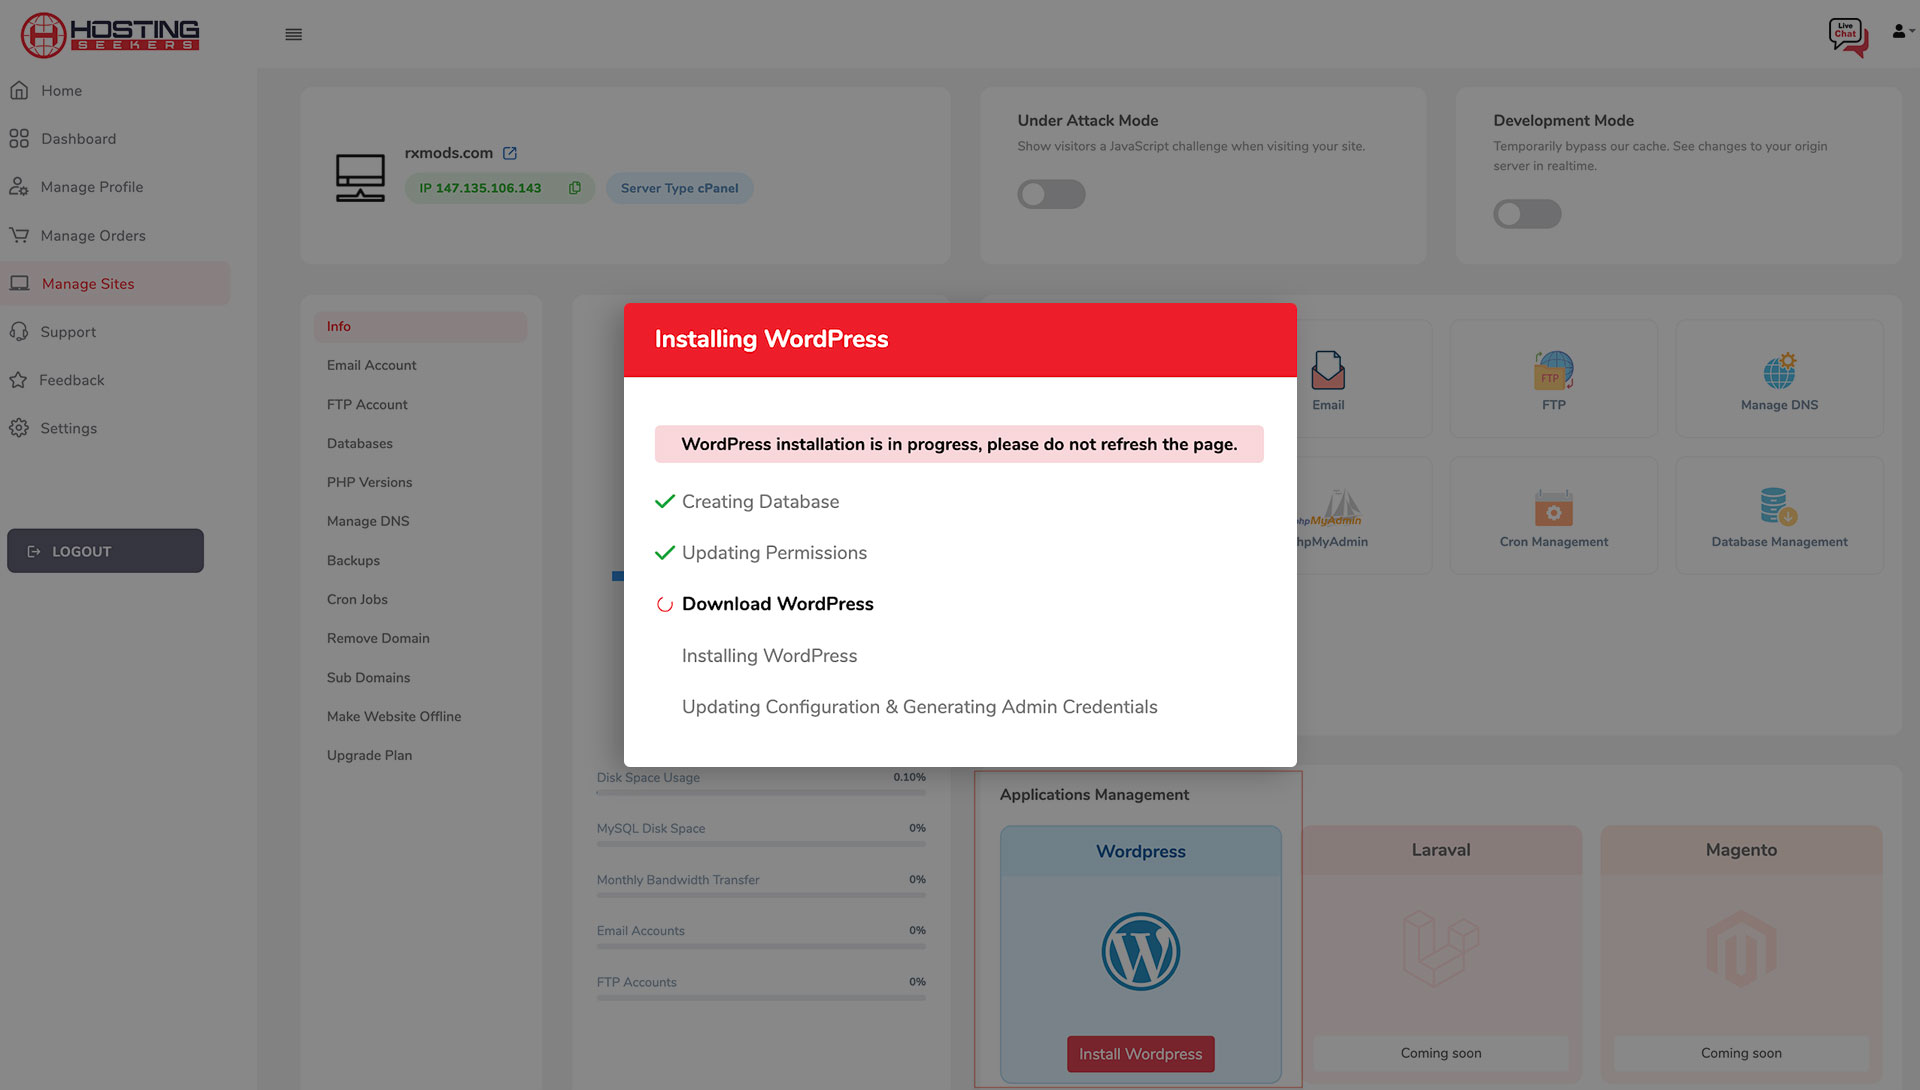
If you are using HostingSeekers managed WordPress hosting follow the below steps :-
1). Login to the HostingSeekers account & go to the dashboard.
2). Click on the install WordPress. You can follow the below screenshot
How To install WordPress manually, you can follow these steps:
Download the latest version of WordPress from the official website: https://wordpress.org/download/.
Unzip the downloaded file on your computer.
Create a new MySQL database and user for your WordPress installation. Note down the database name, username, and password as you will need them later.
Upload the unzipped WordPress files to your web server using an FTP client.
Rename the “wp-config-sample.php” file to “wp-config.php” and open it in a text editor.
Edit the “wp-config.php” file and fill in the database details you noted down earlier. Save the file.
Open your web browser and navigate to your domain name. You should see the WordPress installation page.
Choose your language and click on the “Continue” button.
Enter your site information, including site title, username, password, and email address.
Click on the “Install WordPress” button.
You will be redirected to a success page, and you can now log in to your WordPress site using the username and password you set in step 9.
That’s it! You have successfully installed WordPress manually on your web server.