Having a database is essential if you are ready to take your website to the next level. You might be thinking about how you can create a database after opting for free web hosting services in HostingSeekers. But you don’t need to worry; we have covered you with step-by-step instructions and tips to help you create a powerful and efficient database that will supercharge your online presence.
Whether you are a developer or a beginner, this article will help you easily create databases. Read on to learn more steps about creating a database in HostingSeekers.
How do I create a Database in HostingSeekers
Creating a database in HostingSeekers is a very easy and time-saving method. HostingSeekers provides two types of databases 1) With HostingSeekers and 2) Through cPanel. So, let’s explore the methods and guide to creating the database with steps.
Creating database with HostingSeekers
Here are some steps you need to follow to create a database with HostingSeekers. If you are using HostingSeekers panel, then you need to follow below mentioned steps:
– Login to your HostingSeekers account
– After logging in on the dashboard you need to click on database on the left navigation bar.
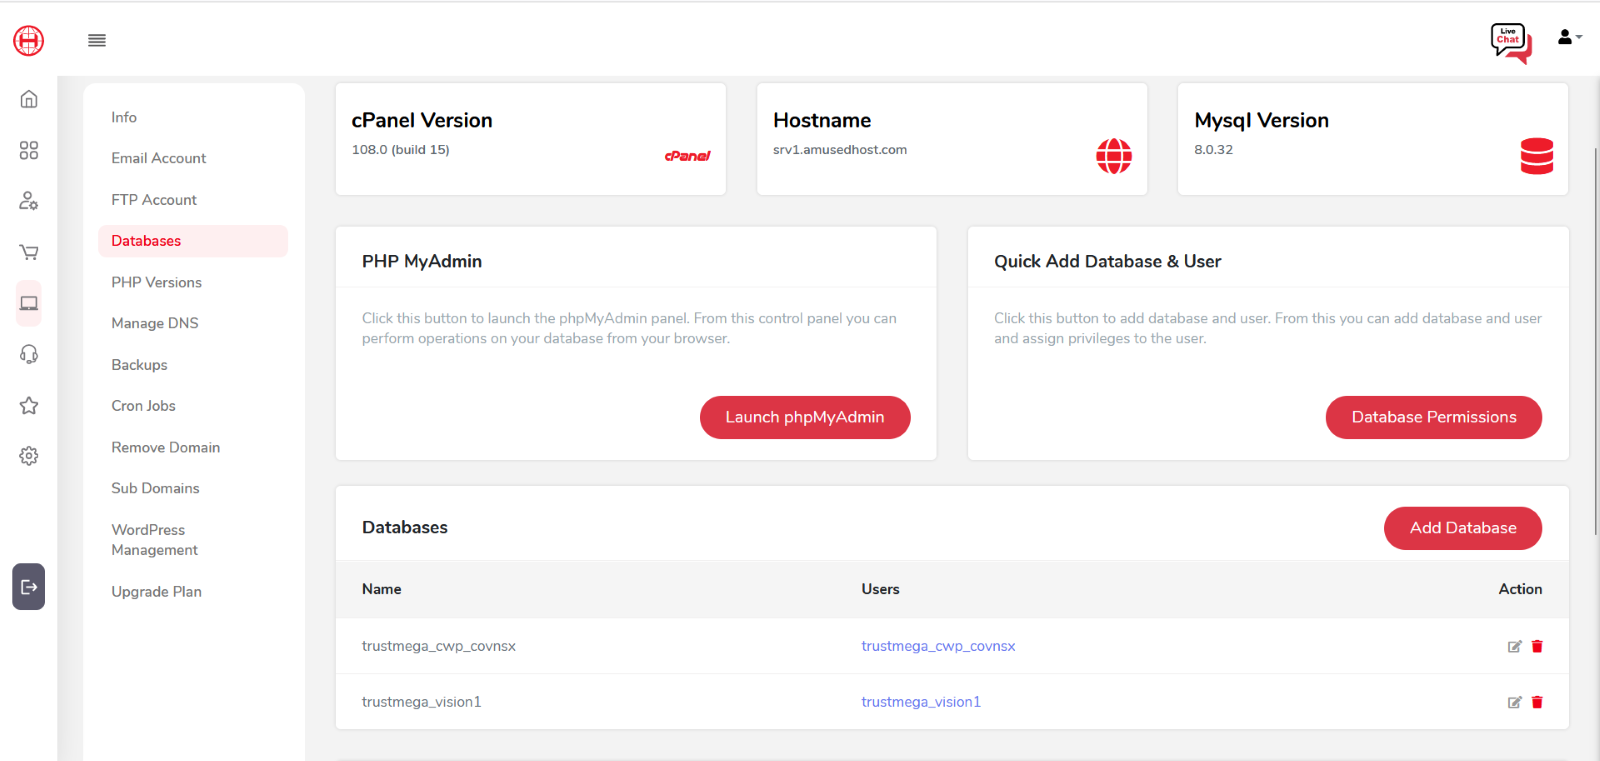
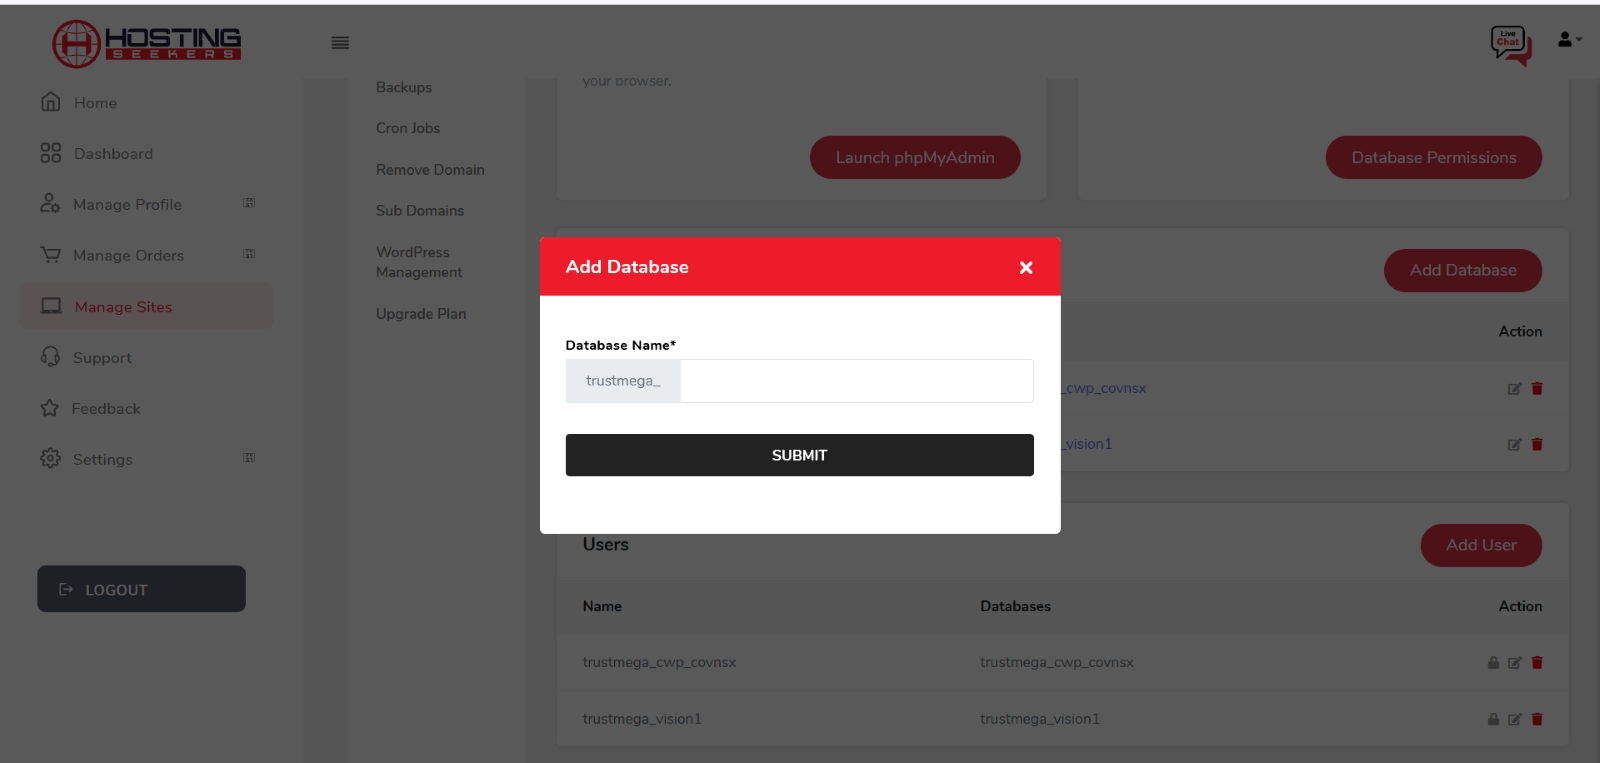
– Select add database option and enter database name.
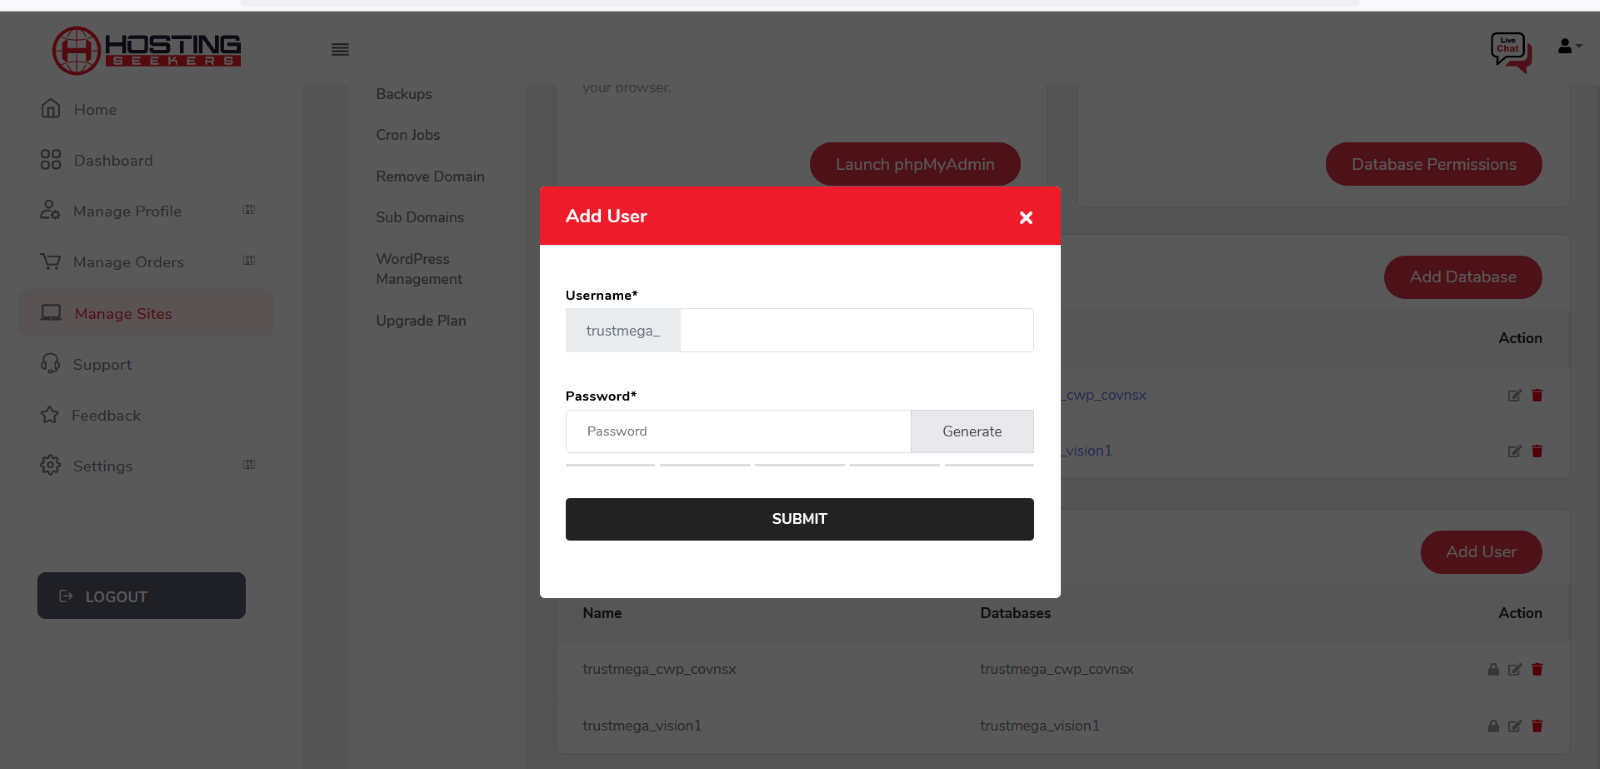
– After adding the database name. Add username and generate password so that you can get unique secured password.
– Click on the save button to add a new HostingSeekers MySQL database.
Creating a database with cPanel
Now let’s check out the steps to create a database with cPanel:
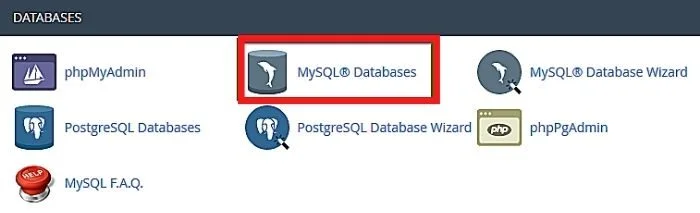
– Login to your cPanel account and add click on the MySQL databases.
– Add details under create new database. Enter your database name and click on the next step button.
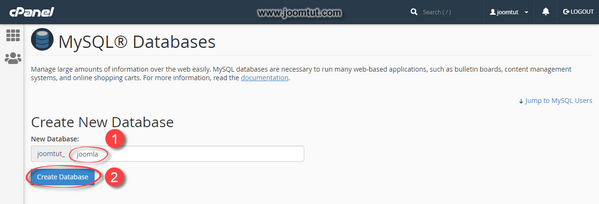
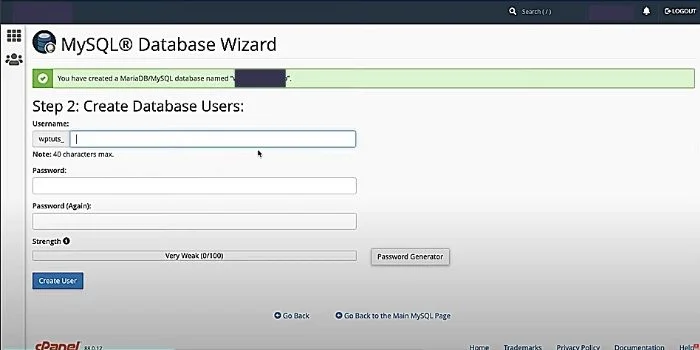
– Through this you can create a new HostingSeekers MySQL database and then you will be redirected to the next step which is of creating a new user.
– Enter the details of add new user and create user option. This will take you to the next and final step to connect both database and username.
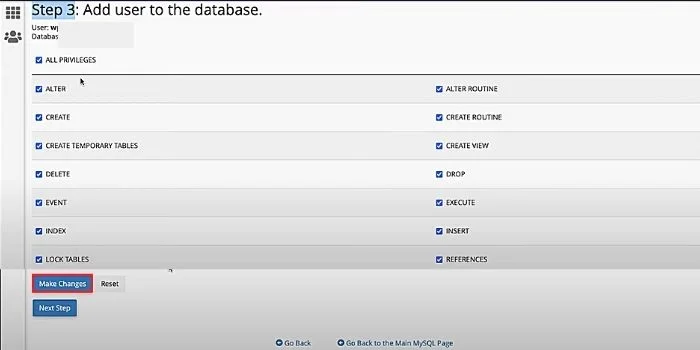
– You can select the privileges you can give access to your access. You can check on the All-Privileges option if you want to give all access.
– Select the make changes option available at the bottom to connect username with the database.
Conclusion
With the above-mentioned step-by-step guide, you are on your way to optimizing your website for peak performance. From managing data efficiently to improving user experience, a well-designed database can make all the difference. You can apply any of these methods to create a database in HostingSeekers.