Whether you have recently revised your pricing or updated a plan’s features, this guide walks you through how to edit your existing hosting plans directly from your dashboard.
Step 1: Log In and Go to Your Dashboard
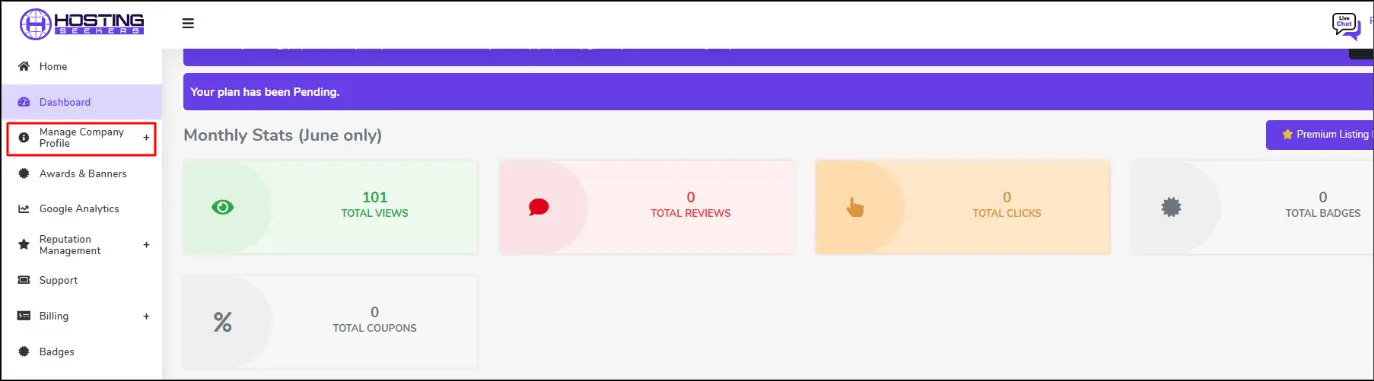
Log in to your HostingSeekers company account. Once logged in, you will land on your Dashboard, where you can see your Monthly Stats, including total views, reviews, clicks, and badges.
Step 2: Select “Hosting Plans”
After expanding the Manage Company Profile menu, you will see several sub-options listed. Select the “Hosting Plans” subsection.

Step 3: Select Your Hosting Category
On the Hosting Plans page, you will see all the hosting categories available on HostingSeekers (e.g., Shared Hosting, VPS, Dedicated Servers, etc.).
Select the hosting category for which you want to update the plan and pricing. For example, if you want to edit your Shared Hosting plans, click on the Shared Hosting category.

Step 4: Review the Plans You Have Added
Once you select a category, you will see a list of all the hosting plans you have already added to that category. Review the plans displayed to confirm that you are editing the correct one. Each plan entry will show details such as the plan name, storage, bandwidth, and current pricing.

Step 5: Edit the Price
Next to the plan, you want to update it. Locate the price field and update it to reflect your new pricing. Make any other necessary changes to the plan details at this stage as well. Once done, click Update to apply your changes.

Your updated pricing will now reflect on your live HostingSeekers listing.